Monday, May 21, 2012

Special Dip


My mom has made this taco dip for parties and gatherings for as long as I can remember. It is one of my all-time favorite snacks and it was always referred to as special dip growing up (for a while I thought that was the official name). This dip is a great summer dish for parties and it is so colorful and truly impossible to eat just one bite!


Ingredients:
8 oz. cream cheese, softened
16 oz. cottage cheese
1packet taco seasoning mix
1 (8 oz.) jar salsa
1 red onion, chopped
1 small head lettuce, shredded
1 red pepper, chopped
1 yellow pepper, chopped
1 can black olives, chopped
8 oz. Cheddar cheese, shredded
Chips

Directions:
Combine cream cheese, cottage cheese and taco seasoning mix a food processor and blend. Spread on large serving dish. Chill for several hours. Layer salsa, lettuce, cheese, onion, peppers and black olives over mixture. Top with any remaining cheese. Serve with chips. Yield: 12 servings.

Friday, May 18, 2012

Fear of Frying: Part II

Fat Fridays
Now that I have gotten my feet wet with my first (successful) frying experience I decided to go through my wish list and make one of my favorite snacks, mozzarella sticks. A warm, crispy, fried shell with gooey melted cheese, what’s not to love? Although I was a little hesitant that these were not going to come out as I had hoped, they turned out pretty damn good if I do say so myself. The trick to keeping the breaded outer shell is popping these puppies in the freezer!

Mozzarella Sticks:
12 stick s of string cheese or 12 pieces of mozzarella cut into 4 x 1/2 inch sticks
1 1/2 cups panko-style breadcrumbs (or Progresso Italian-style Panko breadcrumbs)
2 teaspoons oregano
2 teaspoons garlic powder
1/2 teaspoon table salt
Freshly ground pepper to taste
4 eggs
1 cup of all-purpose flour
Canola oil for frying
1 (8 ounce) can of diced tomatoes (you can also use store bought marinara sauce)
2 teaspoons oregano
2 teaspoons garlic powder
Salt and pepper to taste
Directions:
  1. Spread the flour and breadcrumbs on separate plates (pie plates work well for this).  Add the oregano, garlic powder, salt and pepper to the breadcrumbs and mix well.  Place the eggs in a small bowl and beat them lightly.

  2. Drop a piece of cheese into the flour and roll it around until it is well covered.  Shake off the excess flour and dip the cheese into the egg mixture before rolling it in the breadcrumbs until well coated.  One last time, dip the breadcrumb coated cheese back into the beaten egg and roll again in breadcrumbs to create an extra crispy coating.  Set aside on a clean plate and repeat with the remaining cheese sticks. 
  3. Once all of the mozzarella have been breaded, place the plate into the freezer uncovered and freeze until the breadcrumb coating is firm, at least 2 hours.

  4. While the mozzarella is in the freezer combine canned tomatoes, garlic powder, oregano, salt and pepper and set aside.
  5. Remove mozzarella sticks from freezer.
  6. Pour enough oil into a large heavy-bottomed pot to come to a depth of at least 2 inches.  Using a candy thermometer, heat oil until it reaches a temperature of 350°.  Fry the mozzarella sticks in batches, being careful not to overwhelm the oil, until crispy and browned on the exterior, about 5 minutes.  Drain on paper towels.
  7. Repeat with remaining mozzarella, allowing the oil temperature to rise back to 350° between batches.  You can place the finished mozzarella sticks in a 200° oven to keep them warm while the others fry.

  8. Serve immediately with marinara sauce.
Ooey gooey melted cheese!


Thursday, May 17, 2012

Prints Charming


Yet another summer trend that I am giddy over are bold, whimsical prints. I find myself eyeing prints and patterns that I would have worn when I was little in the 90’s and those bright florals are back again, and I’m pretty pleased!

Wednesday, May 16, 2012

P.I.Z.Z.A.


.
Roasted Garlic and Ricotta Pizza
I am a huge pizza fan and I tend to make pizza once a week. Once tomatoes are fully in season that number will probably go up quite a bit! It’s such an easy quick dish to throw together and there are so many amazing pizzas you can create. Most grocery stores sell pre-made dough now if you are weary of making your own. I love garlic and the roasted garlic and ricotta give this pizza a bit of a sweet, softer taste which I love!


Ingredients:
1 head of garlic
1 Tablespoon Olive Oil
Salt
Pepper
1 (8 ounce) can of crushed tomatoes
1 clove garlic, diced
¼ cup olive oil
1 Tablespoon oregano
½ Chili pepper, dried (or 1 tsp dried red pepper flakes)
Sea salt, to taste
Pizza dough
 1 (8 ounce) container part skim or low fat ricotta cheese, drained
½ cup shredded mozzarella
8 fresh basil leaves

Fresh basil, sea salt and dried chili pepper!


To Roast Garlic:
1. Preheat oven to 400°F
2. To roast the garlic take an entire head of garlic and cut off the tip of the head, exposing the cloves.
3. Brush cloves with olive oil and season with salt and pepper. Wrap in aluminum foil and place on cookie sheet or straight in the oven.
4. Bake for 45 minutes. Open foil and let garlic cool for about 10 minutes. Once cooled the roasted garlic cloves can be easily squeezed from their skins.

To Make Pizza Sauce:
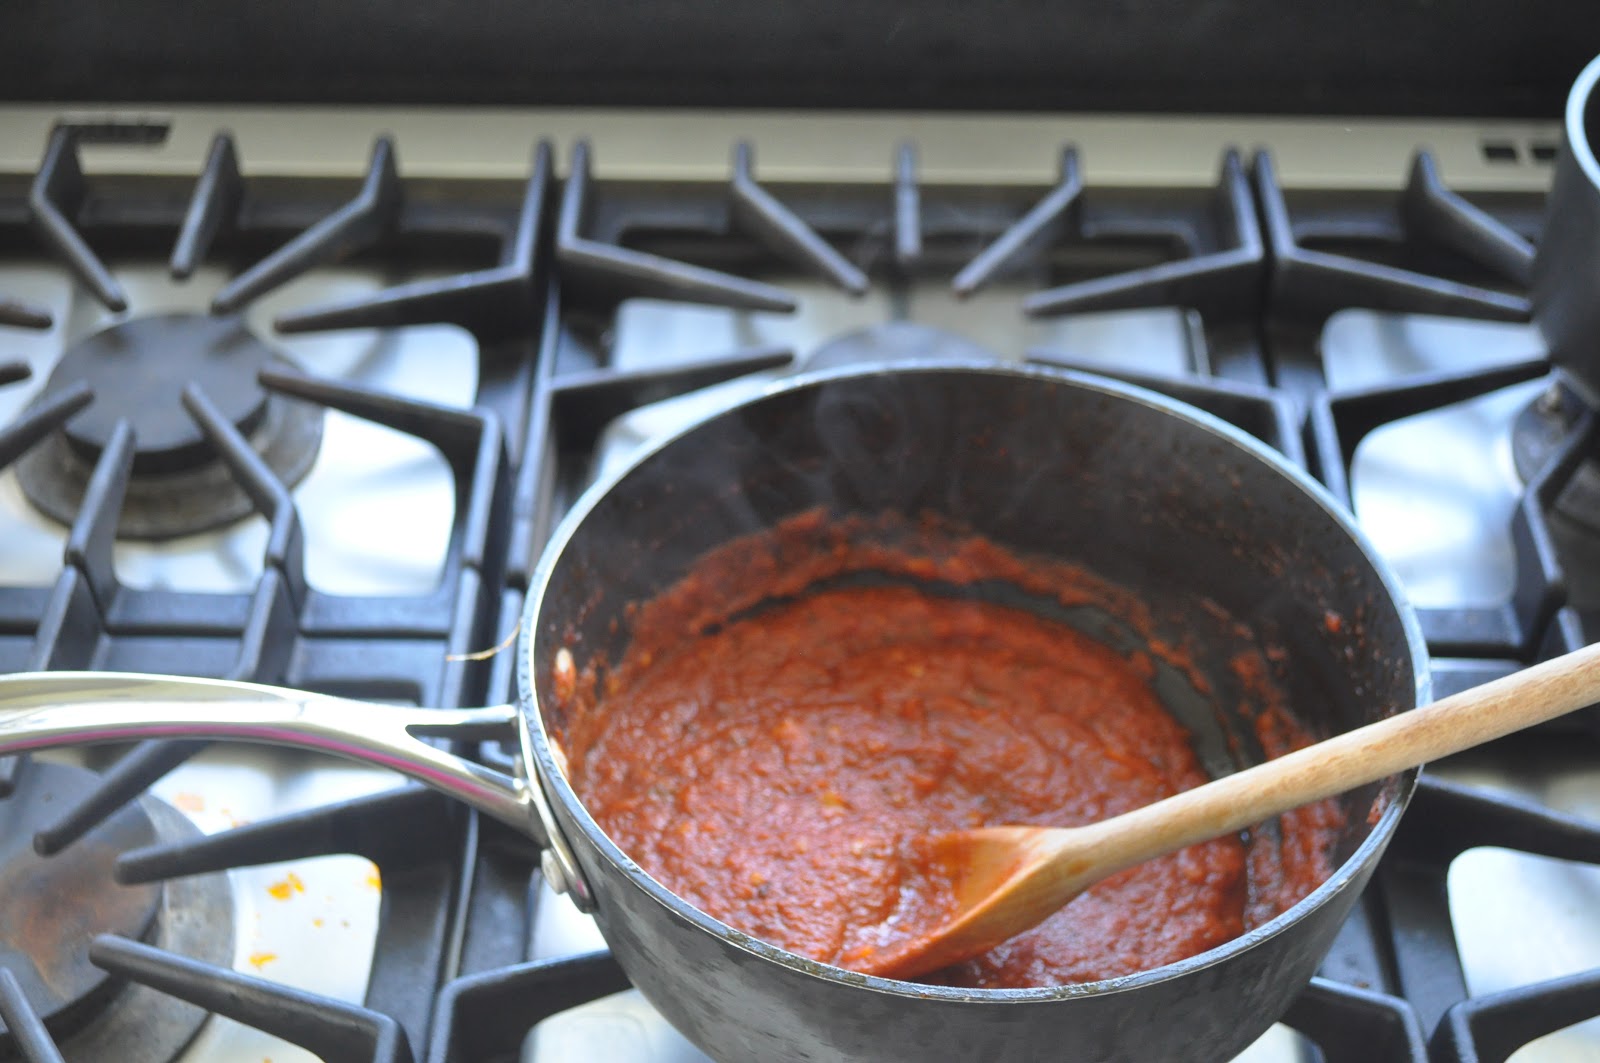
1. In a saucepan heat olive oil and add in garlic to sauté. Pour can of crushed tomatoes. Bring tomatoes and oil to a simmer and add oregano, chili pepper and salt. Simmer, uncovered, stirring occasionally, 20 minutes, or until sauce is reduced. Let cool to room temperature.  


To Make Pizza:
1. Roll out pizza dough onto cookie sheet or pizza stone. After you have removed garlic cloves from their skin spread head of garlic onto the dough. Place in oven and bake about 5 minutes, or until dough is starting to crisp.
2. Remove dough from oven and spread the ricotta. Next spread the sauce on top of the ricotta and sprinkle with mozzarella and basil.
3. Place in oven and bake for 7-10 minutes (depending on your oven).
4. Serve immediately


Monday, May 14, 2012

Once You Pop The Fun Don't Stop


We finally saw some sunshine and seasonal temperature this weekend which were both long overdue! The warm weather got me excited to start grilling and I decided to try out these Grilled Jalapeños Poppers. I love jalapeños poppers and these were a great alternative to the traditional recipe. However next time I’m going to add a little salsa or something extra to give these a little more of a kick!

Grilled Jalapeños Poppers

For stuffed jalapeños:
3 slices of bacon
6 ounces whipped cream cheese
1/2 cup shredded pepper jack cheese
2 scallions, finely chopped
Juice of 1 lime
2 cloves garlic, finely chopped
Salt, to taste
12-15 medium-sized jalapeños, halved lengthwise, seeds and veins removed
Directions:
1. Preheat the grill to medium-high heat.
2. Slice jalapeños in half, length wise. Using a paring knife remove seeds.
3. Cook the bacon in a skillet or oven until crispy. Let cool and crumble using a knife or your hands.
4. Mix the bacon, cream cheese, jack cheese, scallions, lime juice, garlic, and salt in a large bowl.
5. Divide the cheese and bacon mixture between each of jalapeño halves, filling each completely.
6. Place the pepper on a lightly oiled grill (a grill pan or grill stone will work, too). Cover and grill the peppers 7-9 minutes until the bottom has browned and the cheese has melted.
7. Arrange the jalapeños on a platter and serve.


Friday, May 11, 2012

Fear of Frying


Fear of Frying Fat Fridays
I have come across many recipes over time that have caught my eye but reluctantly passed them over due to my fear of frying. However I have now come to a crossroads and find myself asking to fry or not to fry? By now my “Fry Wish List” has grown to a point of no return and I am taking the plunge! I have decided to just dip my toe in this week and start off slow and easy before I get into the really greasy stuff.
I started off with these Chicken Potstickers which I am quite a fan of. Most potsticker recipes call for pork but I decided to substitute with chicken instead. These can also be steamed for a healthier option and I’m sure they would be just as tasty!
Ingredients:
1 cup finely shredded bok choy or cabbage (optional)
1/4 tsp. salt
1 lb. chicken breast
2 green onions, finely chopped
1 Tbsp. soy sauce (or to taste)
1-2 cloves garlic, crushed
1 tsp. grated fresh ginger
1/2 tsp. sugar
1 tsp. sesame oil
1 tsp. bean paste
1 pkg. wonton or gyoza wrappers, thawed if frozen
canola oil
chicken or veggie stock, or water
To Make the Ginger Soy Dipping Sauce
1 Tbsp. green onion
2 tsp. ginger
2 tsp. garlic
1 tsp. bean paste
¼ cup soy sauce
1. Mix all ingredients together and serve.
To Make the Potstickers:
1. If you’re using it, toss the cabbage with salt in a medium bowl and let stand for 5 minutes. Pick it up in your hand and squeeze out the excess liquid, draining it as well as you can.
2. Combine chicken, green onions, soy sauce, garlic, ginger, sugar, bean paste and sesame oil and mix it all up with your hands.
3. To fill wontons, place a small spoonful of filling in the middle of each wrapper; moisten the edges with water (just use your finger) and fold over, pressing the edge tightly to seal. Place seam side up on a cookie sheet, pressing lightly to flatten the bottom. Cover with a tea towel to prevent them from drying out. (Dumplings can be prepared up to this point, covered with plastic wrap and refrigerated for up to 24 hours or frozen.)
4. When you’re ready to cook the potstickers, heat a drizzle of canola oil in a deep skillet set over medium-high heat. Place half the dumplings at a time in the skillet and cook for a minute or two, until deep golden brown on the bottom, shaking the pan a few times to keep them from sticking. Don’t crowd the pan too much.
5. Pour about 1/4 cup stock or water into the pan. Cover, reduce heat to medium and cook for about 5 minutes – this will allow them to steam, cooking.
6. Place on a paper towel to drain and serve with dipping sauce (recipe follows).
Prepare the wontons


Fry

Drain

Eat!